Showing posts with label Crafts. Show all posts

Monday, December 31, 2012

Graduation Gift

I know that most students do not graduate until May, but I was inspired by my own graduation this December to post about gifts. I try to make homemade gifts for graduations. Sometimes the gifts take a while to get to their recipient.


This would be a gift for my sister. I found a shadow box at Michaels  Craft store. The paper was found at Hobby Lobby, along with the diplomas on the picture. The accessories were found at Michaels Craft store and Hobby Lobby.

This was an easy gift.
First step: Selecting materials.. easier said than done.

Second step: Glue the paper to the back of the shadow box.

Then I placed the picture, gown, and other accessories how I wanted it and then glued/taped everything on to the paper.

See.. easy peasy!!


Saturday, October 20, 2012

Things to do

Note to Self:

Take a day off during the weekend to do something of the projects you want.

Redo C man's dresser. Find a blue color similar to Thomas the train and find a red similar to Thomas the train.  Order knobs from esty. 

Find a brown and a blue to match the new comforter and paint the night stand that is peeling. Find a sander.  

Put the picture frames up in C man's room and your kitchen frame up!!

Ready for Nov. 6 to get some of this done!!

Tuesday, May 8, 2012

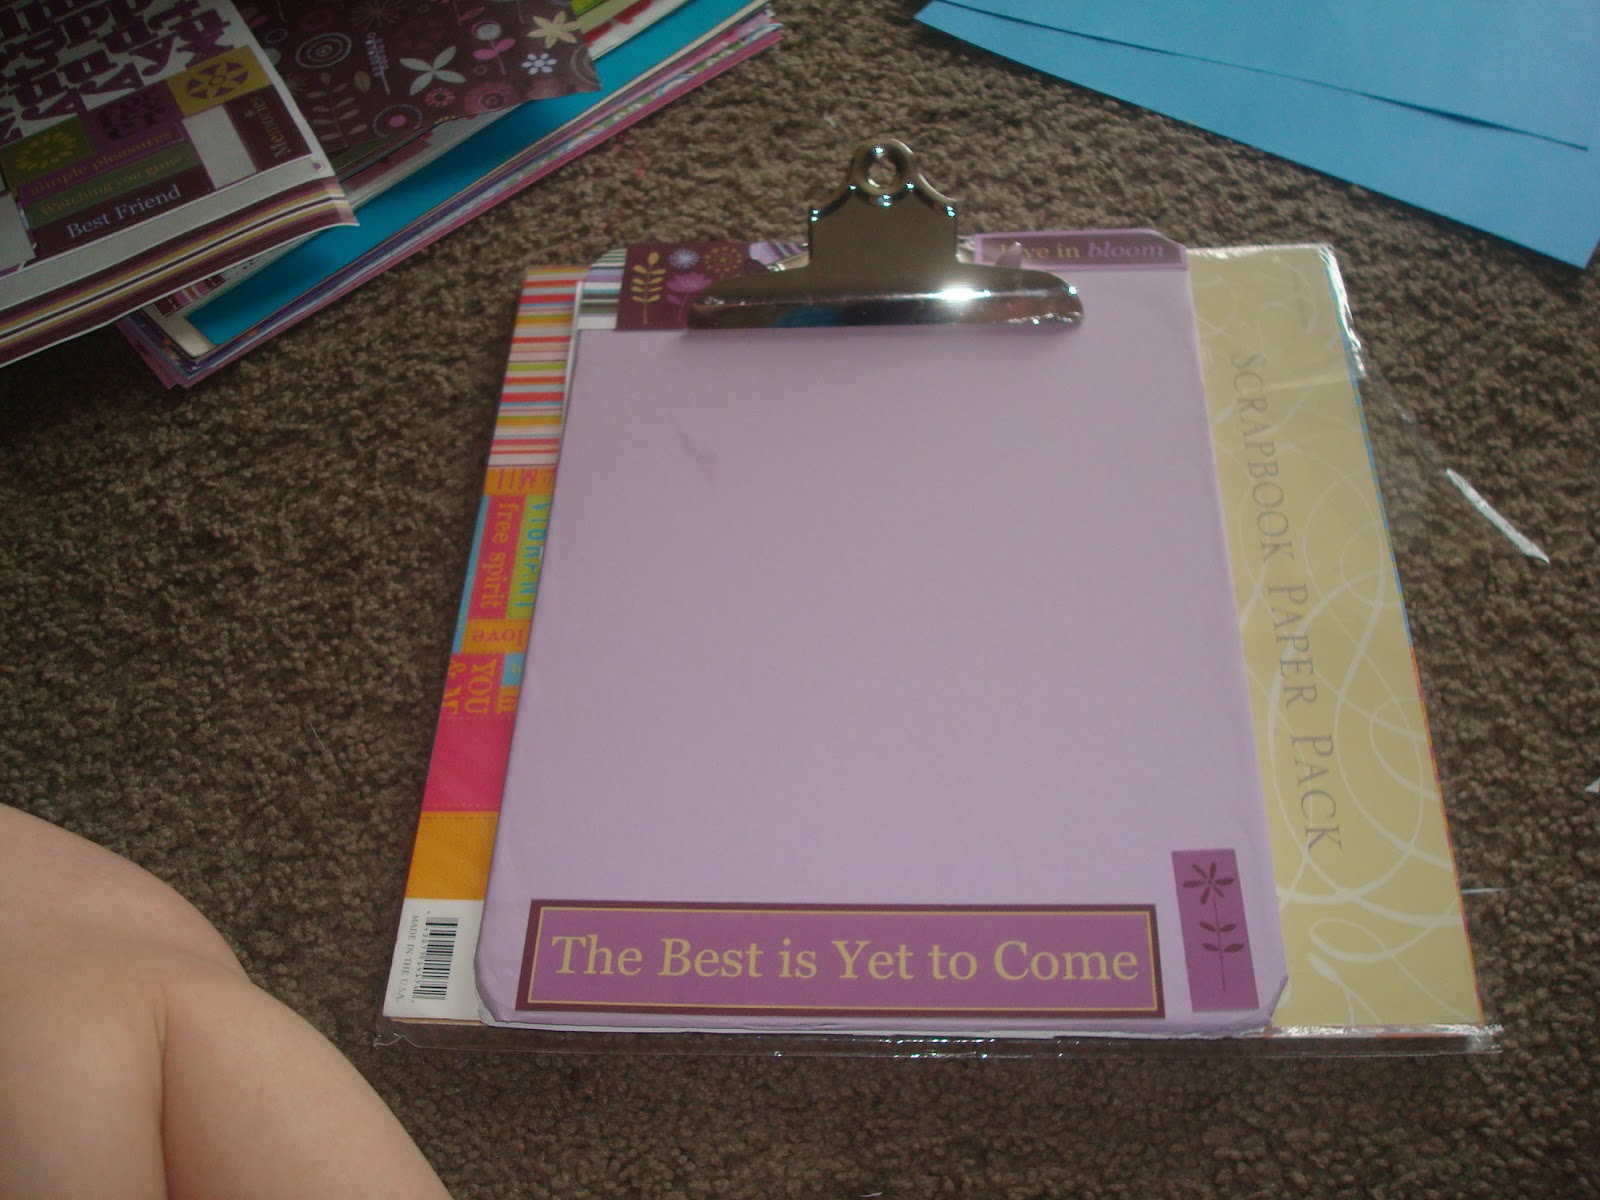
Decorative Clipboard


Today, I had some free time on my hands. I decorated my clipboard. My clipboard serves  as a holder for my cleaning schedule and holds my assessment papers when I am in the classroom. 
I chose a purple color scheme, since my recipe binder is purple. 


Step 1

Choose your color scheme.
Take a sponge with Mod Podge on it and coat the entire surface. After you coat the surface, place the paper onto the clipboard. Press down firmly on the paper to smooth out any bumps you may have. Let this dry for 10 to 15 minutes. 


Step 2

Turn over the clipboard and apply Mod Podge to the back of the clipboard. After this place the paper onto the clipboard.  Press down firmly on the paper to smooth any bumps you may have. 

Step 3

Decorate your clipboard. I decorated my clipboard with stickers from the scrapbook paper pack. 


Happy Crafting!

Blog's I am linking up to:

 <a border="0" href="http://thekurtzcorner.com/" target="_blank"><img src="http://i1195.photobucket.com/albums/aa386/asmith0341/tutorials.jpg"/></a>Blog party